
OpenClaw—previously known as Clawdbot and Moltbot—is an open-source personal agent framework that has become one of the fastest-growing repositories in GitHub history. It's essentially Claude with a Unix philosophy—runs locally, has filesystem access, can execute commands, and talks to your messaging apps. The interesting part? When you wire it up to NEAR Intents, you get an AI agent that can autonomously manage cross-chain assets.
Here's a deep dive tutorial on how to set it up and why you might actually want to.
Note: Some of the screenshots in this tutorial include old Moltbot nomenclature. “OpenClaw” is Moltbot’s newest official name.
What OpenClaw Actually Is
OpenClaw is an open-source AI assistant that you run on your own hardware. Unlike chatbots that live in someone else's cloud, OpenClaw runs wherever you want: your laptop, a VPS, a home server. (You can now run OpenClaw on NEAR AI Cloud for hardware-enforced security plus cryptographic privacy guarantees).
The architecture is modular. At its core, OpenClaw is a gateway that:
Executes shell commands
Reads and writes files
Integrates with Discord, Telegram, Slack, iMessage, etc.
Supports pluggable "skills" (basically tool definitions for the LLM)
OpenClaw’s power comes from extensibility. You can teach it new capabilities by adding tools. And when you add NEAR Intents as a skill, you get an AI that can execute cross-chain swaps through natural language.
No more "bridge to chain X, swap on DEX Y, bridge back." Just "swap my USDC for SOL" and it figures out the routing. This means you can build some pretty powerful trading applications with OpenClaw.
Security Considerations With OpenClaw
Important: Before you connect chat apps, understand OpenClaw’s permission model. Use mention-only mode for group chats. Default config is basically "anyone can tell your computer to do anything." That's not great.
Security researcher Daniel Miessler audited OpenClaw and found 10 critical vulnerabilities in default installs. We’re listing them below because if you deploy this without fixing them, you're taking serious risks.
Security hardening checklist:
Gateway exposed on 0.0.0.0:18789 → Set gateway.auth.token
DM policy allows all users → Use allowlist, not default-allow
Sandbox disabled → Enable sandbox=all + [docker.network](<http://docker.network>)=none
Plaintext creds in oauth.json → Use env vars + chmod 600
Prompt injection via web scraping → Wrap untrusted content in safety tags
Dangerous commands allowed → Block rm -rf, curl | bash, git push --force
No network isolation → Docker network isolation is mandatory
Elevated tool access → Minimize MCP tool permissions
No audit logs → Enable session logging
Weak pairing codes → Use cryptographic random + rate limiting
Full visual breakdown: Daniel Miessler's security analysis
Real talk: OpenClaw gives the LLM full access to your machine. That's the feature, not a bug. But you need to treat it like you're handing your laptop to a stranger. Secure it accordingly.
https://x.com/DanielMiessler/status/
NEAR Intents: The "What" Not the "How"
Alright, so why wire OpenClaw to NEAR Intents specifically?
Traditional blockchain UX makes you specify every step when swapping assets between chains: "Approve token X, call contract Y with parameters Z, wait for confirmation, bridge to chain A, swap on DEX B..." It's exhausting.
NEAR Intents flips this and simplifies the process for the user. You specify the outcome ("I want SOL"), and a network of solvers competes to execute it for you. You don't care about the path—you care about the result. The solvers care about your business, so you end up getting the most competitive deal, with the least friction.
How NEAR Intents Works Under the Hood
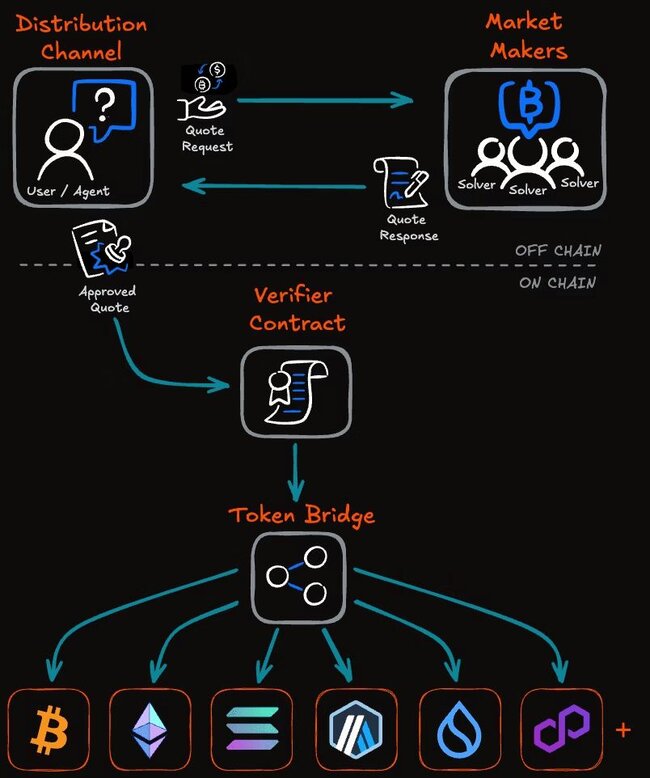
NEAR Intents has four key components:
Distribution Channels – Where users express intents (could be a dApp, a CLI, or in our case, an AI agent)
Market Makers – Entities providing liquidity to fulfill swaps
Message Bus (Solver Relay) – Off-chain layer where solvers compete on quotes
Verifier Contract – Onchain NEAR contract that settles trades atomically
When you say "swap 100 USDC on Arbitrum for SOL," the flow is:
Your intent gets broadcast to the solver network
Solvers compete to give you the best quote
You pick one (or the system auto-picks)
The Verifier Contract executes atomically—either the whole trade succeeds or nothing happens
No partial execution. No stuck bridges. No "oops, you got frontrun and now you have wrapped tokens on the wrong chain."
NEAR Intents 1Click API
For developers (and AI agents), the 1Click API is your interface to NEAR Intents.
It abstracts all the solver negotiation and gives you a clean REST API:
GET /tokens – List 125+ supported assets
POST /quote – Get competing quotes
POST /deposit – Submit your swap
GET /status – Track execution
This is what OpenClaw talks to when you tell it to swap assets.
Wiring Up OpenClaw + NEAR Intents
Install near-intents-cli
Getting OpenClaw connected to NEAR Intents is simpler than you might think. We will guide you through deploying OpenClaw on Railway and setting up NEAR Intents so you can start trading and managing crypto right from your Telegram bot (or Slack/Discord).
Prerequisites
Before you start, make sure you have:
A Telegram account
An AI provider API key (NEAR AI Private Cloud, OpenAI, Anthropic, Google, etc.)
A deployment platform account (we’ll use Railway in this guide, but you have other options)
Part 1: Deploy OpenClaw
OpenClaw can be deployed in several ways depending on your preferences and technical comfort level. You can find all installation options at https://docs.openclaw.ai/install, including:
Railway (cloud deployment, easiest setup)
Render (alternative cloud platform)
Docker (self-hosted, more control)
Northflank (cloud deployment)
Direct installation (run it on your own server)
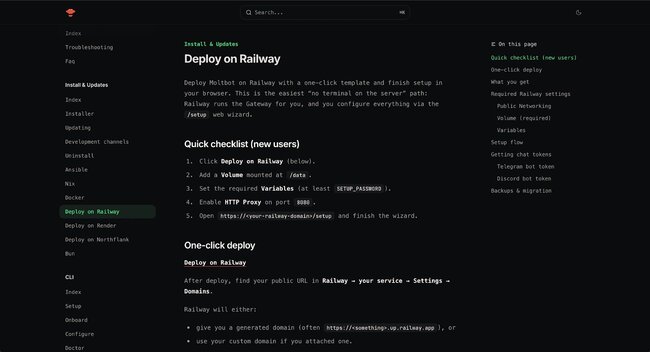
For this guide, we’ll use Railway because it offers the quickest path from zero to a working bot. The one-click template handles most of the heavy lifting, and you can get started without touching any code or configuration files. If you prefer a different deployment method, the setup process after deployment will be similar—you’ll still access the admin panel and configure OpenClaw the same way.
Step 1: Deploy the Railway Template
Head over to https://docs.openclaw.ai/railway and click the “Deploy on Railway” button. This will take you to the OpenClaw Railway template page. You’ll need a Railway account—the free tier works perfectly fine for getting started.
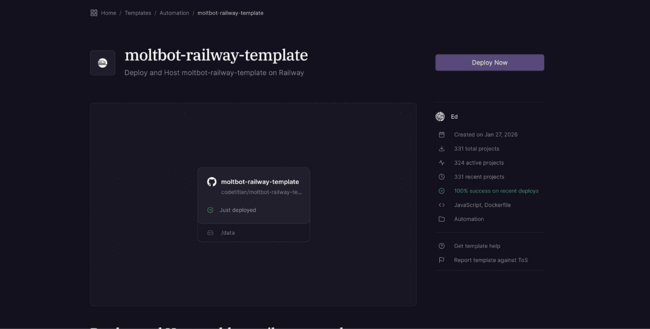
Once you’re on the template page, click “Deploy Now” to start the deployment process.
Step 2: Set Your Password
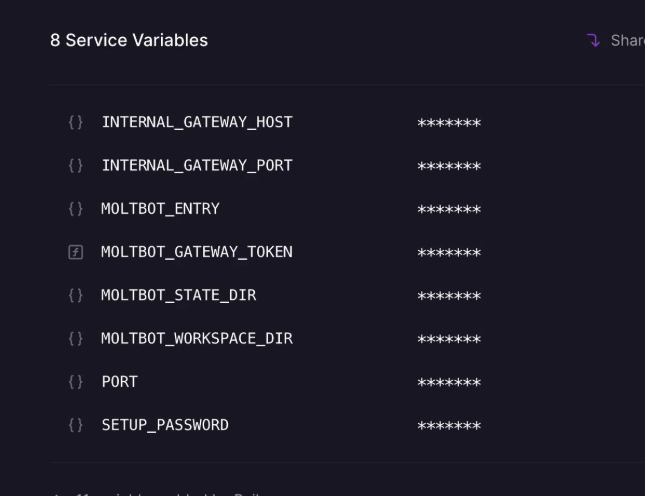
This step is important. Railway will ask you to set up environment variables. You’ll see a field for SETUP_PASSWORD. Pick something secure and remember it—you’ll need this to access the OpenClaw admin panel.
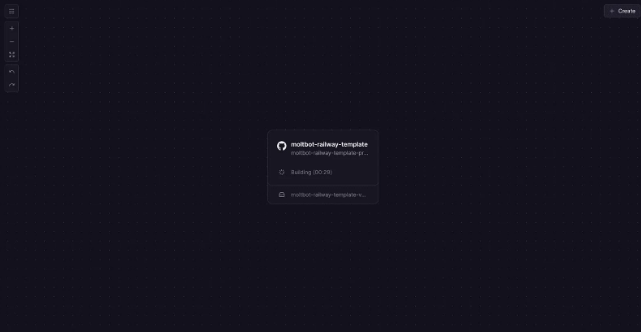
Step 3: Access the Admin Panel
Once deployment is done, Railway will give you a public URL. Open that URL in your browser. You’ll see a login screen asking for credentials.
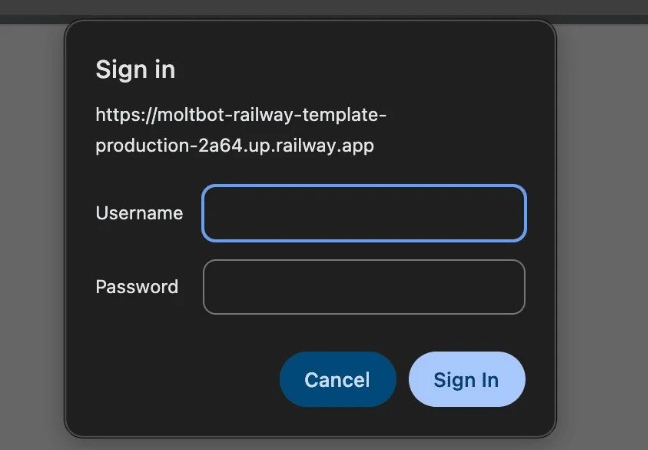
Use these credentials:
Username: admin
Password: The password you set in Step 2
If you forgot your password, no worries. Go back to your Railway dashboard, navigate to your project’s environment variables, and you’ll find it under SETUP_PASSWORD.
Step 4: Configure OpenClaw
After logging in, you’ll see the OpenClaw setup wizard. This is where you configure the AI provider that will power your bot.
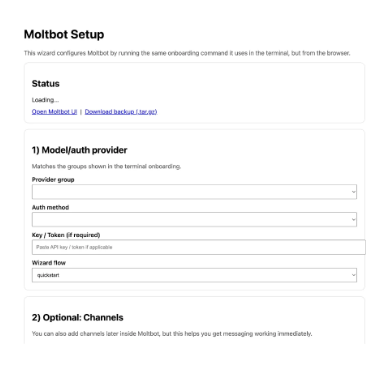
Choose your AI provider from the dropdown menu.
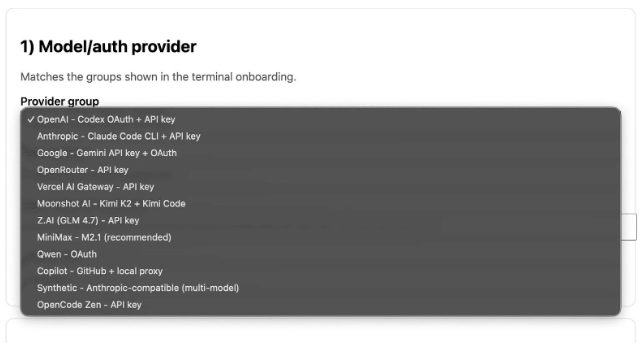
Enter your API key for the chosen provider. Most providers offer free credits or trials if you’re just getting started.
Step 5: Create Your Telegram Bot
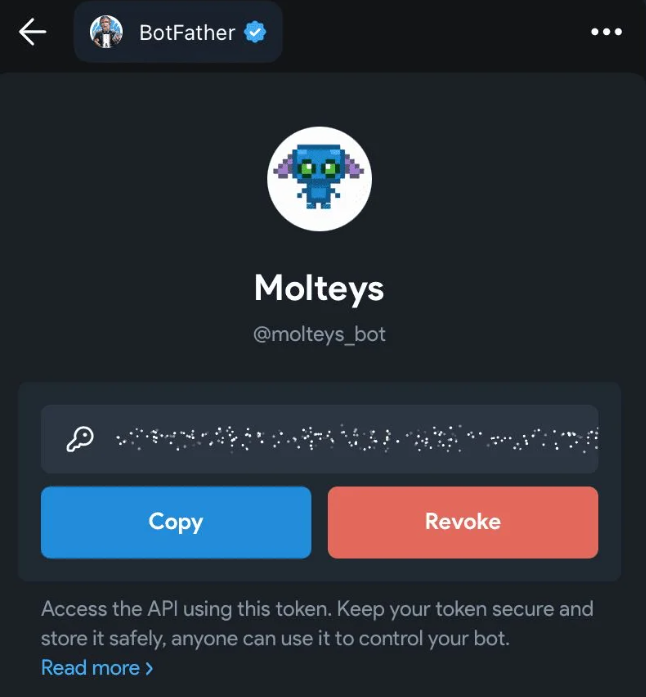
Now you need to create an actual Telegram bot. Open Telegram and search for @BotFather. This is Telegram’s official bot for creating other bots.
Send /newbot to BotFather and follow the prompts:
Choose a name for your bot
Choose a username (must end in “bot”)
BotFather will give you an API token
Copy that token—you’ll need it in the next step.
Step 6: Finalize Setup
Back in the OpenClaw admin panel, paste your Telegram bot token into the appropriate field. You can also add other optional channels like Discord or Slack if you want, but Telegram is the main one for NEAR Intents.
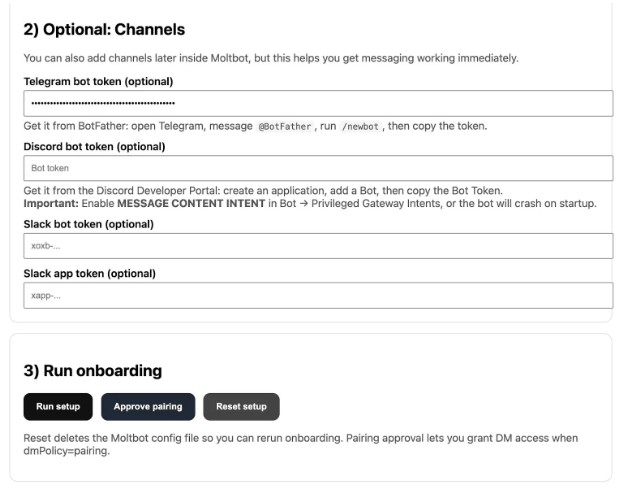
Click “Run setup” and wait. The setup process will take a minute or two.
Share
Share
Related posts